


WEBサイト制作・アプリ開発・システム開発・ブランディングデザイン制作に関するご相談はお気軽にご連絡ください。
構想段階からじっくりとヒアリングし、お客様の課題にあわせたアプローチ手法でお客様の“欲しかった”をカタチにしてご提案いたします。
Blog スタッフブログ
iOS
Swift
システム開発
ひとくちコードスニペット
[Swift]フォーカス時に装飾を行うUITextFieldのサブクラス
こんにちは、株式会社MIXシステム開発担当のBloomです。
今回はフォーカスされた場合に装飾を行うUITextFieldのサブクラスを作ってみます。まずはサブクラスとして実装しましょう。
import UIKit

@IBDesignable
final class HighlightableTextField: UITextField {

    // MARK: - Inactive
    @IBInspectable var inactiveBorderColor: UIColor = .systemGray3 { didSet { updateAppearance(animated: false) } }
    @IBInspectable var inactiveBorderWidth: CGFloat = 1.0 { didSet { updateAppearance(animated: false) } }
    @IBInspectable var inactiveBackgroundColor: UIColor = .clear { didSet { updateAppearance(animated: false) } }

    // MARK: - Active
    @IBInspectable var activeBorderColor: UIColor = .systemBlue { didSet { updateAppearance(animated: false) } }
    @IBInspectable var activeBorderWidth: CGFloat = 2.0 { didSet { updateAppearance(animated: false) } }
    @IBInspectable var activeBackgroundColor: UIColor = .clear { didSet { updateAppearance(animated: false) } }

    // MARK: - Common
    @IBInspectable var cornerRadius: CGFloat = 10.0 { didSet { updateAppearance(animated: false) } }
    @IBInspectable var usesAnimation: Bool = true
    @IBInspectable var animationDuration: Double = 0.15

    /// 枠線表示制御
    @IBInspectable var showsBorder: Bool = true { didSet { updateAppearance(animated: false) } }

    // MARK: - Lifecycle
    override init(frame: CGRect) {
        super.init(frame: frame)
        commonInit()
    }

    required init?(coder: NSCoder) {
        super.init(coder: coder)
        commonInit()
    }

    override func prepareForInterfaceBuilder() {
        super.prepareForInterfaceBuilder()
        Task { @MainActor in
            self.commonInit()
            self.updateAppearance(animated: false)
        }
    }

    private func commonInit() {
        removeTarget(self, action: #selector(editingDidBegin), for: .editingDidBegin)
        removeTarget(self, action: #selector(editingDidEnd), for: .editingDidEnd)

        addTarget(self, action: #selector(editingDidBegin), for: .editingDidBegin)
        addTarget(self, action: #selector(editingDidEnd), for: .editingDidEnd)
        updateAppearance(animated: false)
    }

    override func becomeFirstResponder() -> Bool {
        let result = super.becomeFirstResponder()
        if result { updateAppearance(animated: usesAnimation) }
        return result
    }

    override func resignFirstResponder() -> Bool {
        let result = super.resignFirstResponder()
        if result { updateAppearance(animated: usesAnimation) }
        return result
    }

    @objc private func editingDidBegin() {
        updateAppearance(animated: usesAnimation)
    }

    @objc private func editingDidEnd() {
        updateAppearance(animated: usesAnimation)
    }

    private func updateAppearance(animated: Bool) {
        let isActive = isFirstResponder

        let borderColor = (isActive ? activeBorderColor : inactiveBorderColor).cgColor
        let borderWidth = isActive ? activeBorderWidth : inactiveBorderWidth
        let bgColor = isActive ? activeBackgroundColor : inactiveBackgroundColor

        let apply = { [weak self] in
            guard let self else { return }
            layer.cornerRadius = cornerRadius
            layer.masksToBounds = true

            if showsBorder {
                layer.borderColor = borderColor
                layer.borderWidth = borderWidth
            } else {
                layer.borderColor = UIColor.clear.cgColor
                layer.borderWidth = 0
            }

            backgroundColor = bgColor
        }

        guard animated else {
            apply()
            return
        }

        UIView.animate(withDuration: animationDuration, delay: 0, options: [.beginFromCurrentState, .curveEaseInOut]) {
            apply()
            self.layoutIfNeeded()
        }
    }
}
これでstoryboardから直接プロパティを指定しつつフォーカス時の表示制御ができるようになりました。早速使ってみましょう。
実行結果
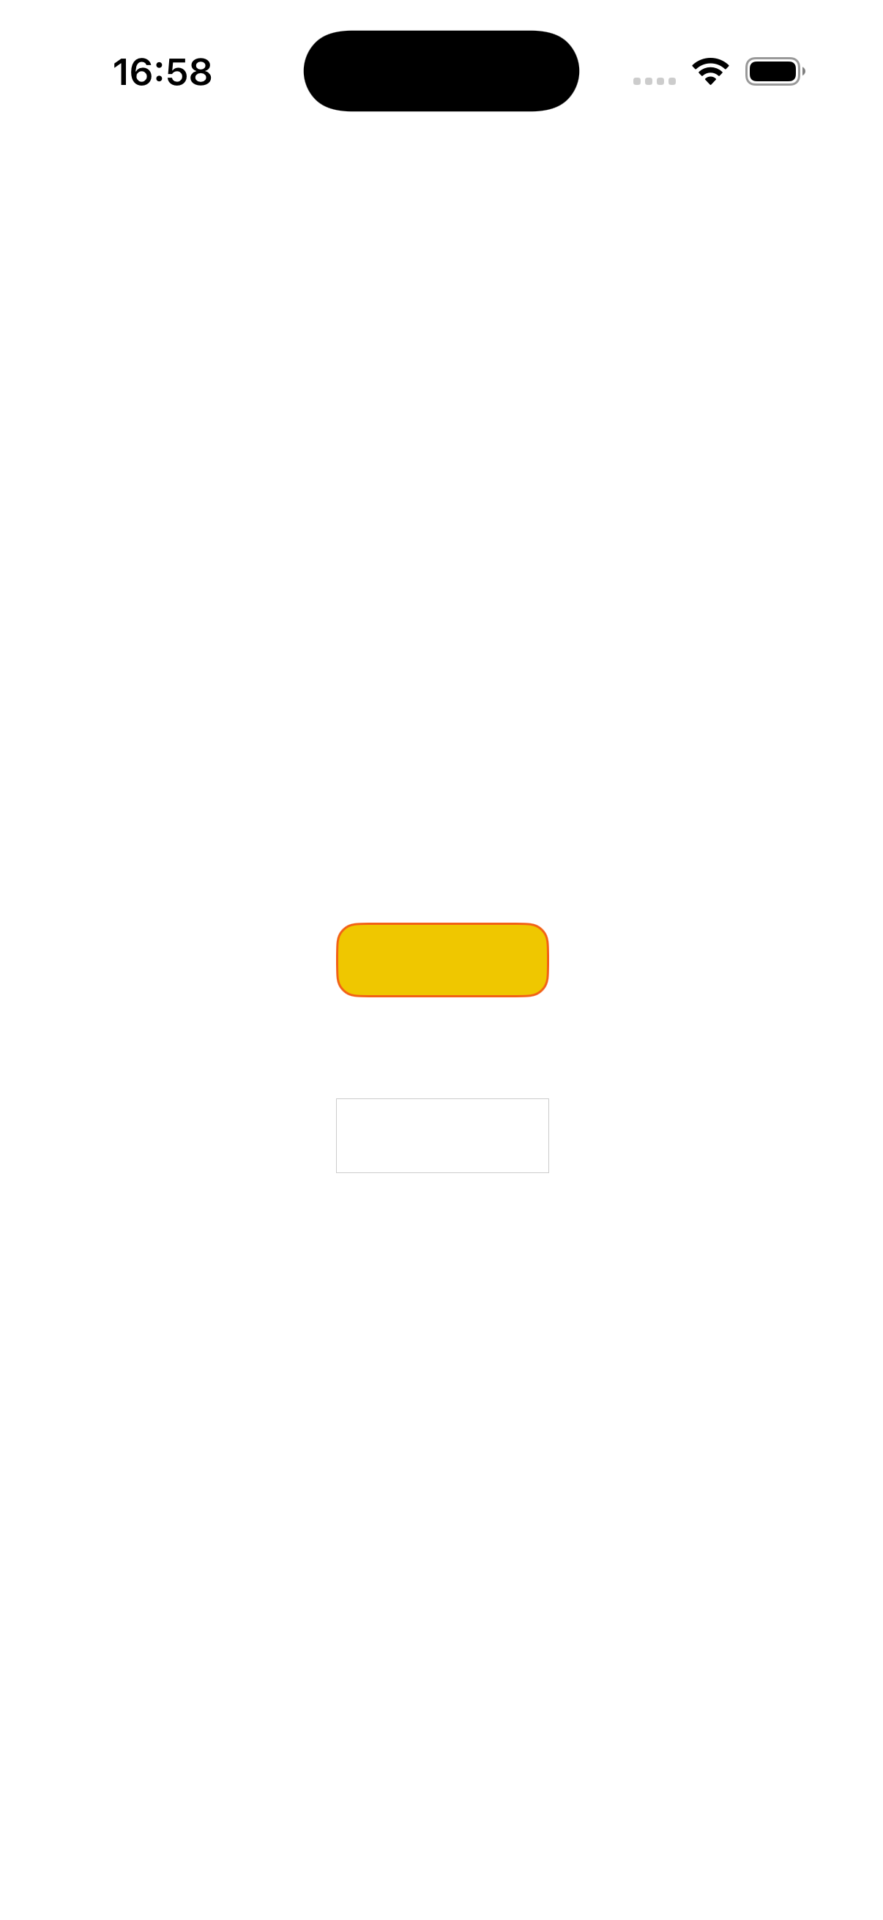
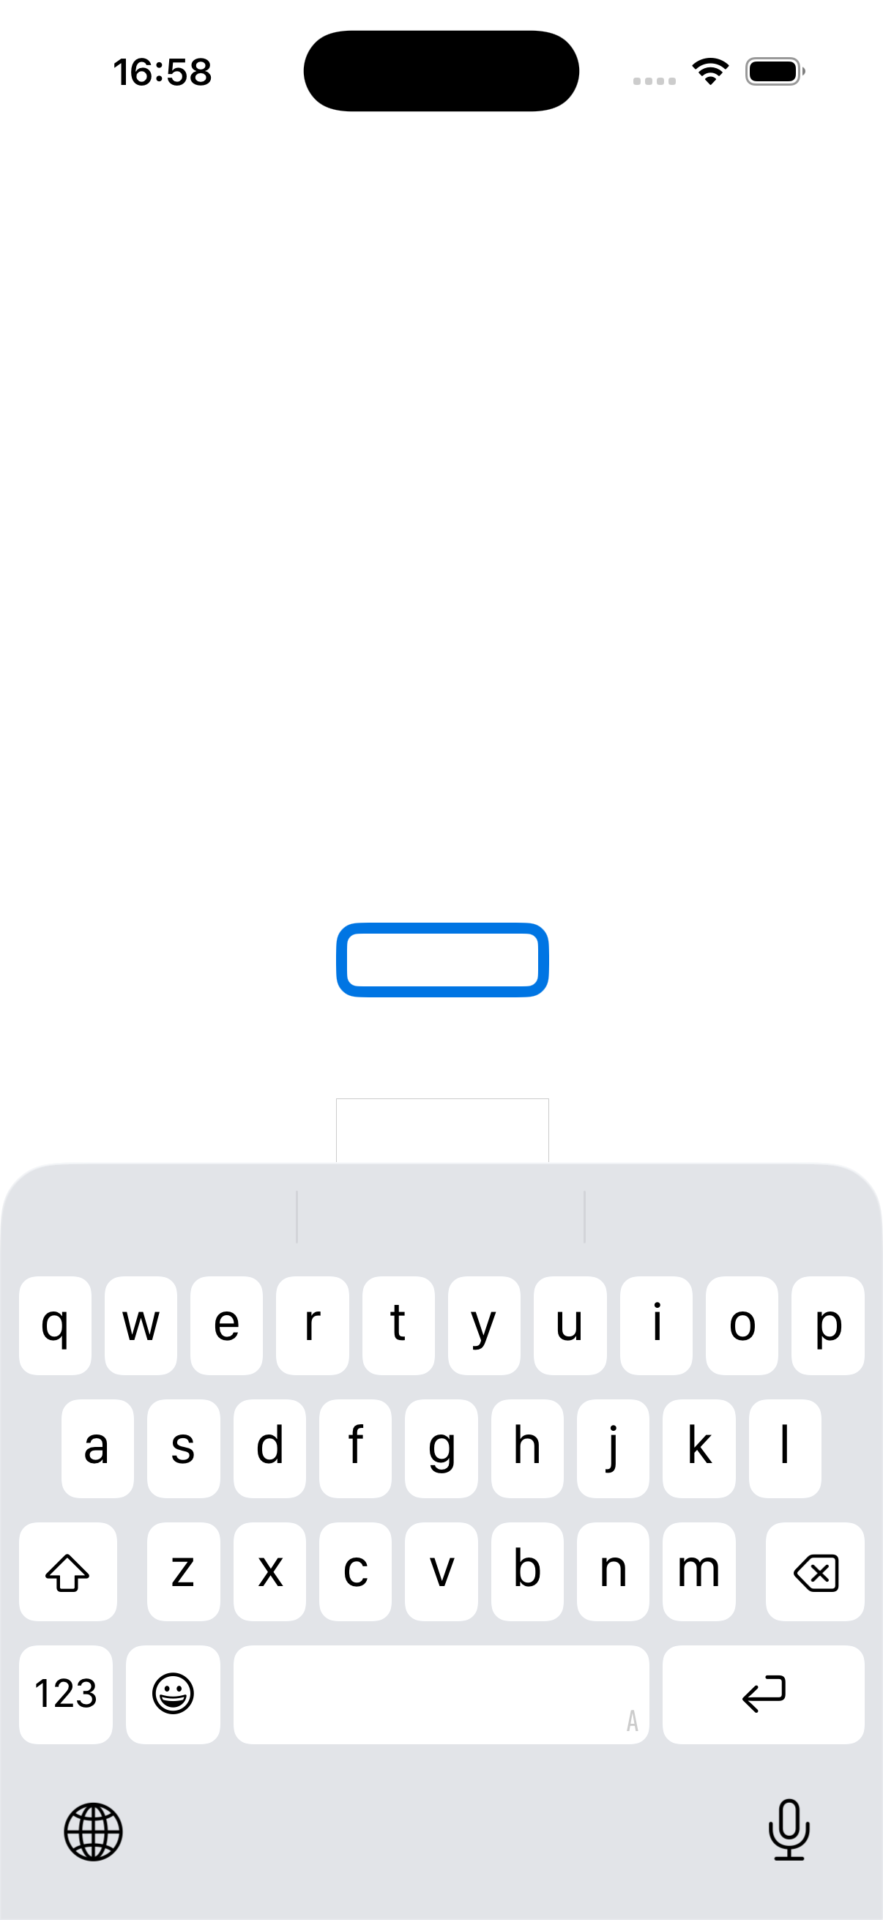
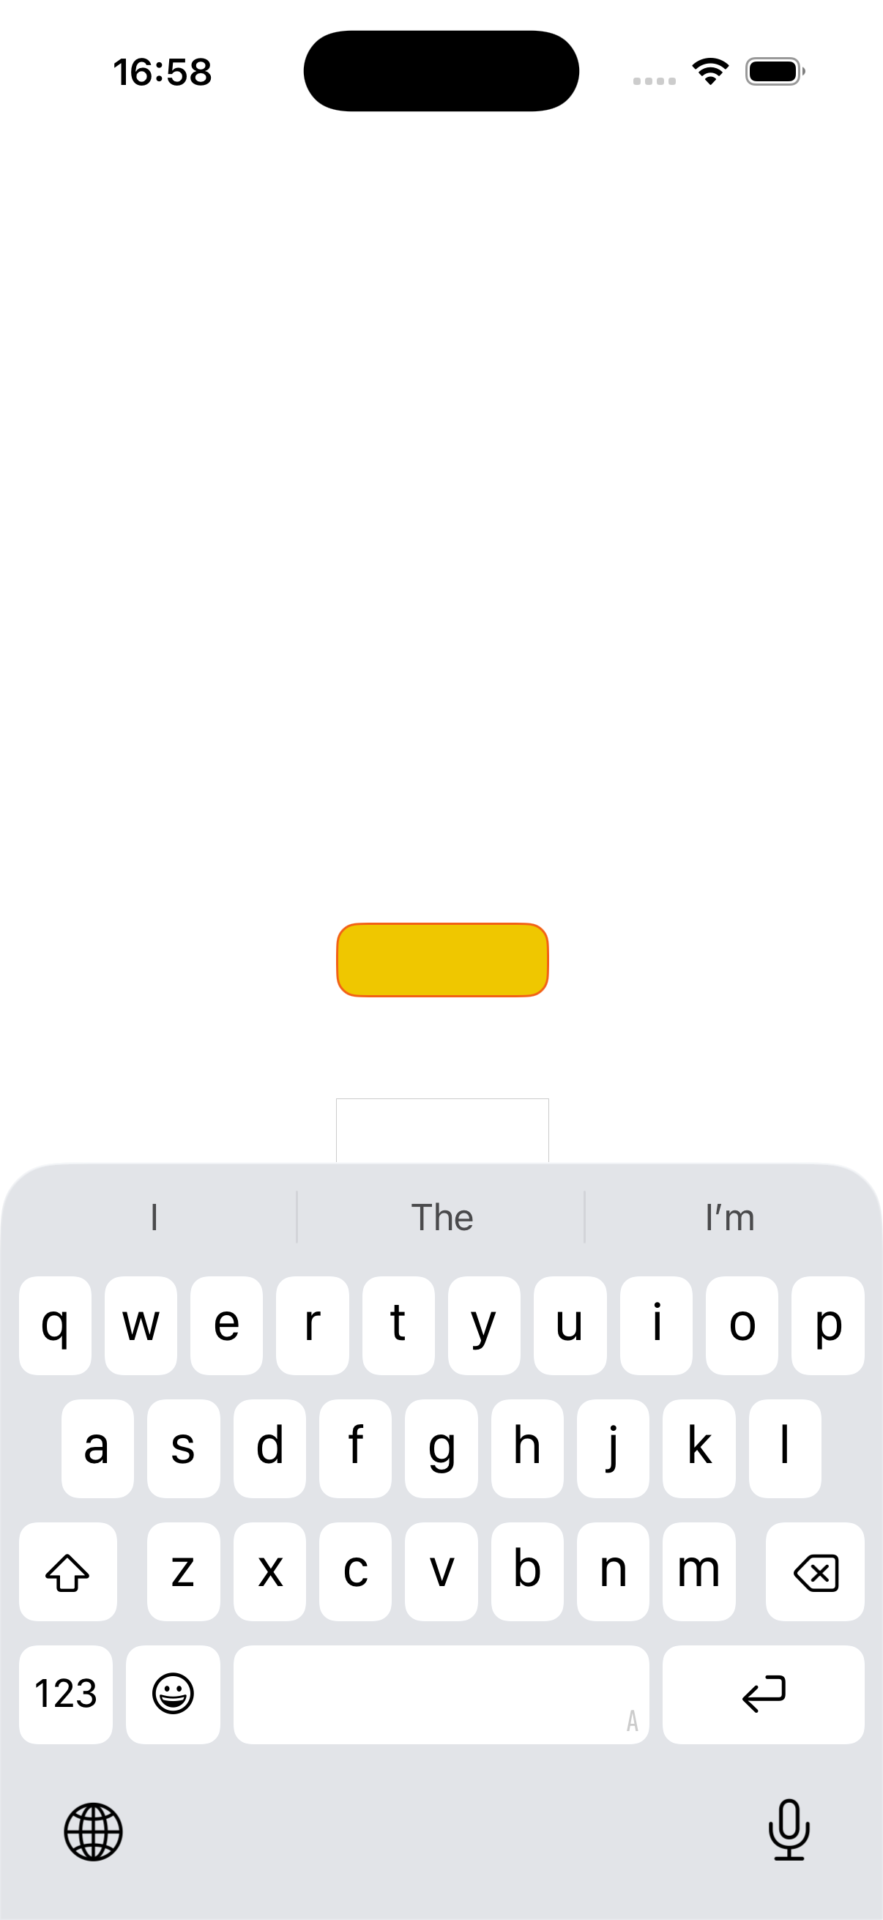
普段は黄色背景で、フォーカスすると白背景と太線青枠になり、フォーカスを外すとまた元に戻りました。良かったですね。